


In February of 2021, almost a year into the pandemic, the Tundra Girl and I found ourselves buried in a mountain of stress. Several heavy situations were occurring all at the same time, and the whole world seemed out of control. It felt like our sanity was in jeopardy.
One evening we were watching TV when the characters on the program took an impromptu trip to Las Vegas. We remarked that neither one of us had ever been to Las Vegas. On a whim I asked, "Why don't we fly to Las Vegas for a few days?" It seemed like crazy talk, with everything going on around us. At the same time, it seemed like the only thing in our control that we could do to restore some serenity into our lives. About two weeks later, we were on a plane heading to Vegas for four days and a new adventure.
Neither one of us drink, smoke or gamble, so we weren't altogether sure if we could find enough in Vegas to entertain us. It didn't matter. We decided that even if we did nothing else but sit in a hotel room alone for four days then it was worth the trip. Thankfully we were pleasantly surprised after we arrived that there is still plenty to do in Las Vegas for "dull" people like us.
While visiting, one of the places I wanted to see was the Pinball Hall of Fame. As a lifelong nerd, I was an avid pinball and video game player back in the 1980s. The Pinball Hall of Fame has hundreds of pinball machines, and dozens of vintage video games, all available to play. It was a little slice of nostalgic heaven and I visited the museum twice on this trip.
On my second visit, I arrived to discover a line of people waiting to get in. The "social distancing" rules of the pandemic were still in place, which meant the Pinball Museum was only allowed 25% of rated capacity. There was someone working the door, and as a person left the building, the gatekeeper would allow the next person in line to enter.
As I waited to get in, I struck up a conversation with a guy standing in line next to me (well, technically we were six feet apart.) It turns out the guy owned a business that built home arcade controllers, where people could plug his system into their TV and play emulated vintage video games. We had a good talk, and between that conversation and playing vintage games for a couple hours, I left the Pinball Museum with inspiration to build my own arcade cabinet to play vintage video games at home in a realistic way.
I started the project in March of 2021. Because of the aforementioned "heavy situations" (which didn't alleviate themselves during our trip to Vegas and in fact continue to this day,) my work on building this cabinet would sometimes go on pause for a month or two. Combine my slow pace with the huge number of hours a project like this consumes, and it took me 2.5 years before I could declare the project finished.
I didn't track the number of hours I put into building this cabinet, but it wouldn't at all surprise me if it took more than 300. This was probably the most labor intensive project I have ever tackled. Even once I decided the project was complete, there are still a few things on my list that I need to tidy up. Due to the sheer complexity of the software, there will likely be a perpetual list. As I scratch items off the to-do list, more will be added. But the cabinet is now at a point where I can call it finished, and everything I do going forward will just be considered maintenance and enhancements.
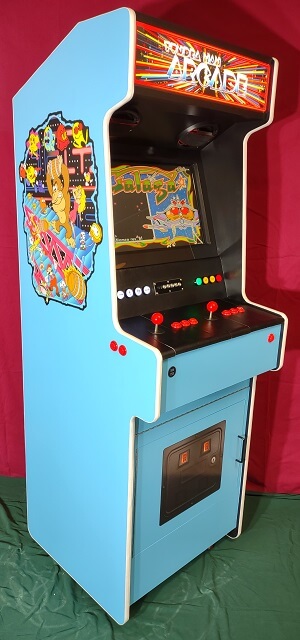
I based the color scheme of the cabinet from the original 1981 Donkey Kong cabinet. Light blue and black in color, white molding and red controls.
The software on the cabinet includes over a hundred different emulators with (quite literally) thousands of games. It emulates everything from arcade machines, home systems (Atari 2600, NES, Sega Genesis, etc), home computers (Apple II, Commodore 64, etc) and even includes handheld systems (Gameboy, Sega Game Gear, etc.)
The cabinet is the same width and height as a traditional arcade machine, but is about six inches shallower to take up a little less floor space. The whole cabinet weighs around 200 pounds, so I put heavy-duty casters underneath to make it easier to move around.
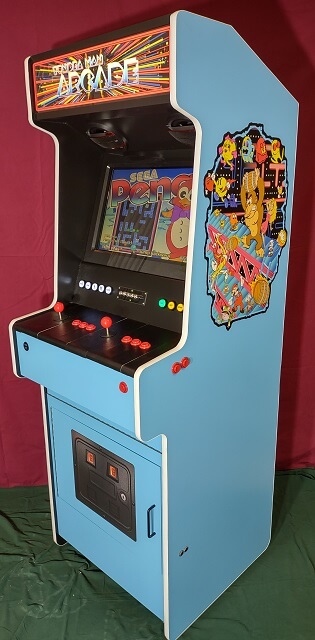
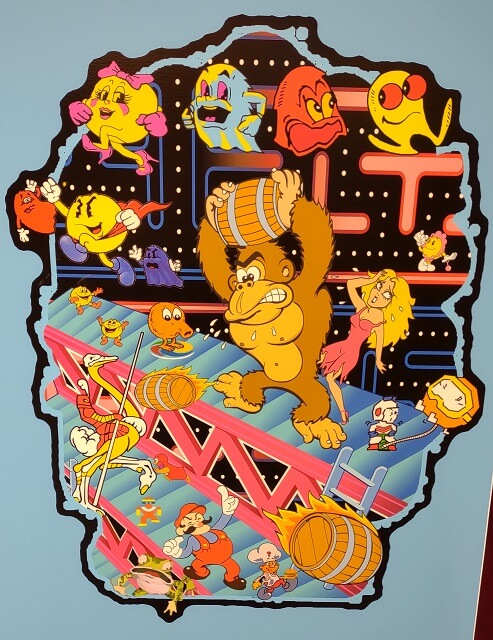
In order to give the cabinet more of an authentic feel, I added side art. The art portrays a bunch of various vintage video game characters, which reflects how the cabinet will play a bunch of different vintage video games.
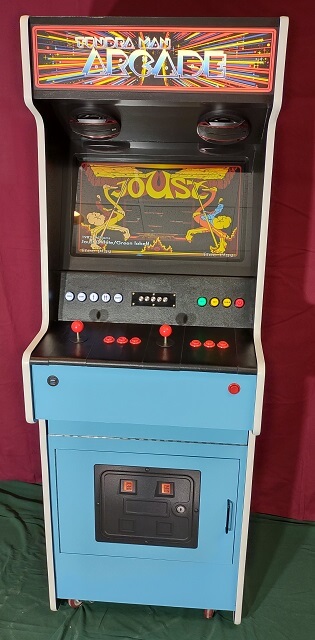
I had a custom marquee made that includes my nickname. The marquee lights up when the system is powered on, just like a real arcade game does. Pictures really don't do justice as to how nice this marquee looks when it is lit.

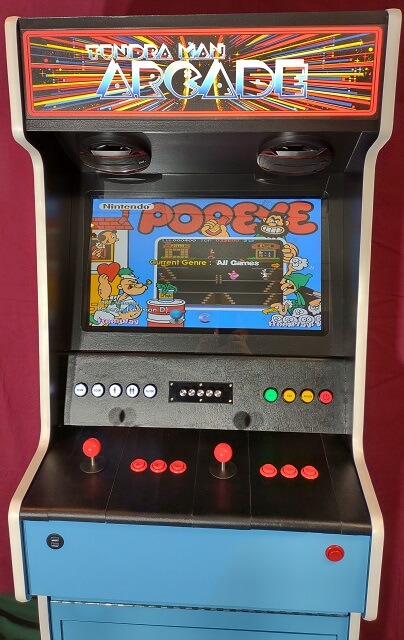
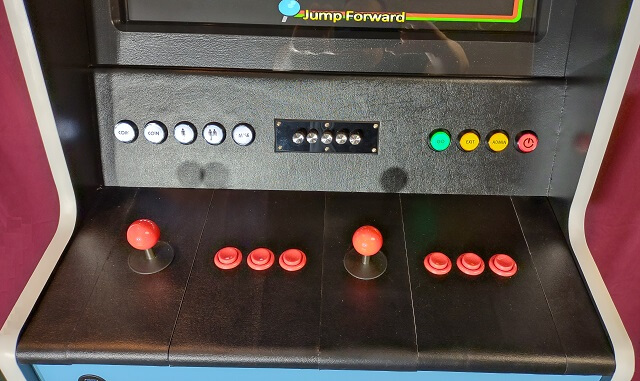
The control panel is divided into two sections. The upper panel contains the buttons and controls common to all games, such as the power button, the start button and the controls for the 200 watt sound system. The lower panel contains the actual controls used while playing the games.
Because of the huge variety of games that can be played, I made the lower control panel modular. Different control panels can be mounted on the cabinet to match the game that you want to play. You aren't forced into playing Tempest with a joystick. In this picture, the controls currently mounted allow head-to-head play for games such as Joust, Golden Axe and Twin Cobra.
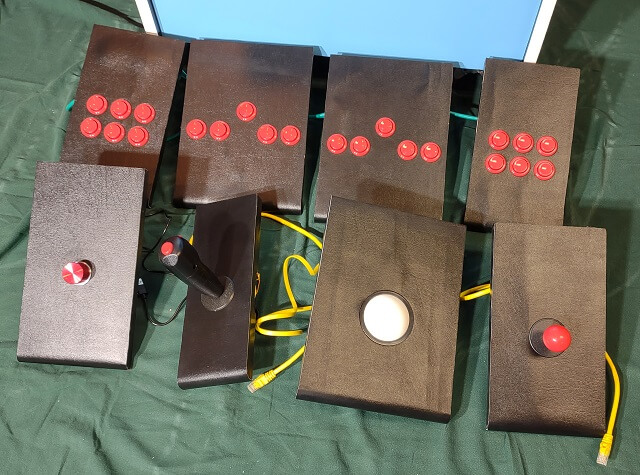
Here are the additional control panels I have made. This picture includes custom button panels, a diagonal Q*Bert/Congo Bongo joystick panel, a flight stick panel, a track ball panel, and a spinner panel. Not pictured are Star Wars and steering wheel panels for which I have purchased the controls, but haven't yet constructed. All of the panels are hot-swappable via either a Cat5 cable connection (button and joystick panels) or a USB connection (track ball and spinner.)
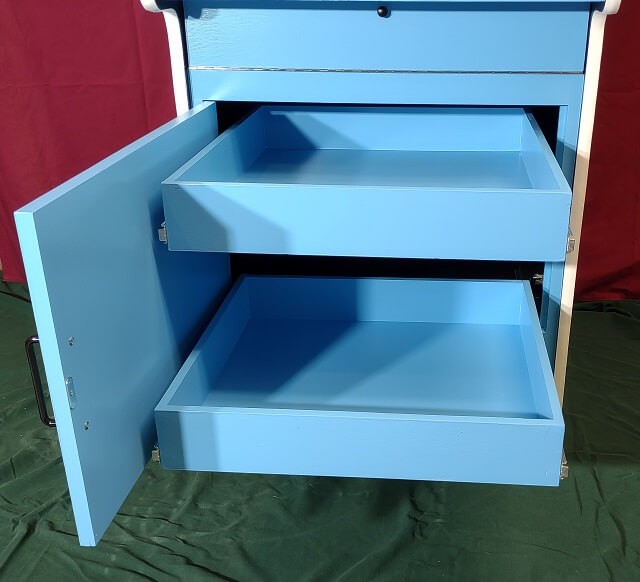
All these control panels need to be stored somewhere, so the lower part of the cabinet has drawers that will hold them. Also, hiding under the drawers is an 8" downward firing subwoofer so the game explosions will sound extra real.
When maintenance needs to be done on the system, I have a slide-out keyboard tray hiding underneath the control panel.
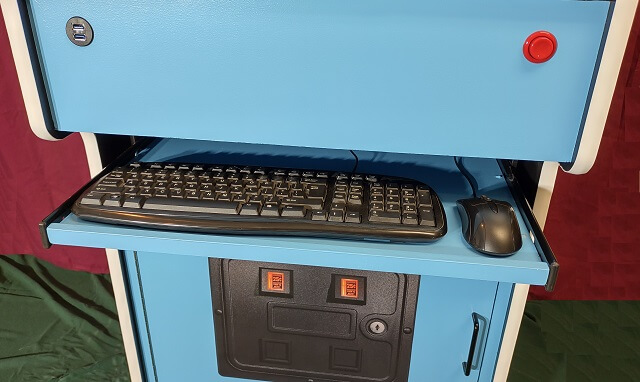
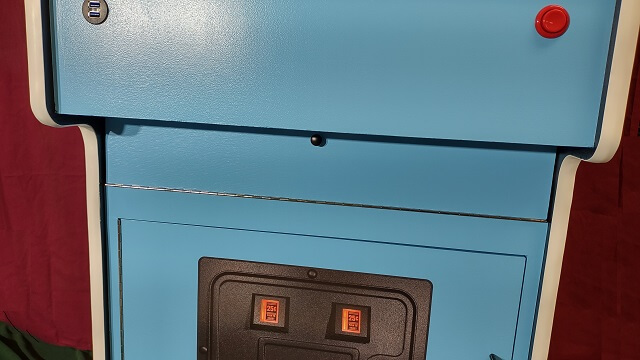
When not in use, the keyboard and mouse will slide back into the cabinet and be hidden by a door.
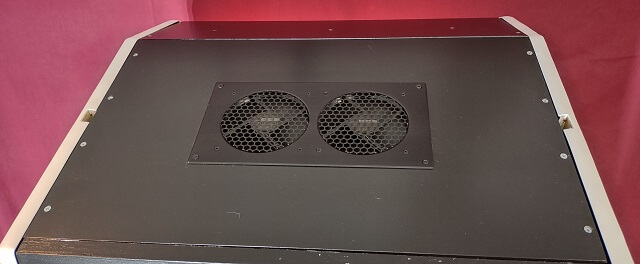
All of the electronics inside the cabinet generate heat. To reduce the interior temperature I added cooling fans on the top rear of the cabinet.
The back of the cabinet isn't particularly glamorous. The power cable to the cabinet uses a standard C14 socket.
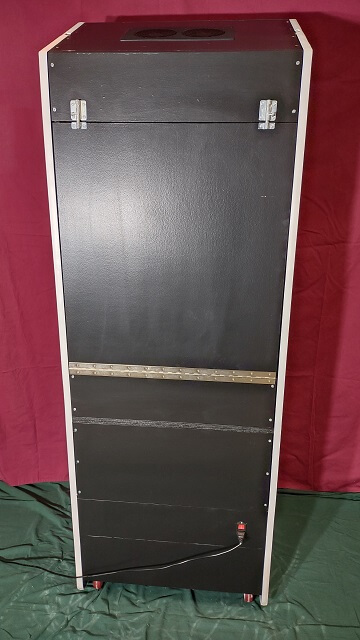
When maintenance on the interior of the cabinet needs to be done, no tools are needed to open it up. Unhooking the top latches allows a large panel to swing down and give complete access to all of the components and wiring.
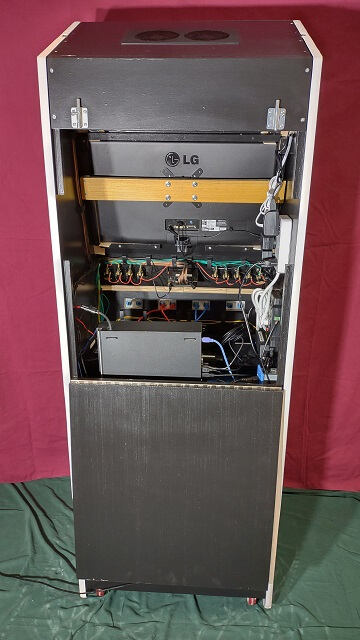
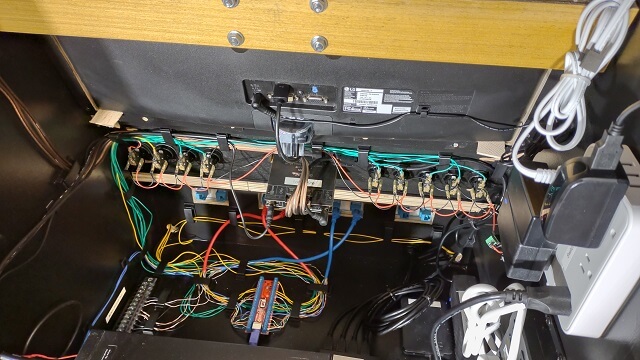
Here's a close up of the wiring and component layout on the inside of the cabinet.
Want to see how the cabinet was made? Come with me on the entire journey!
Return To The Main Wood Gallery
This page last updated on 09/21/2023