


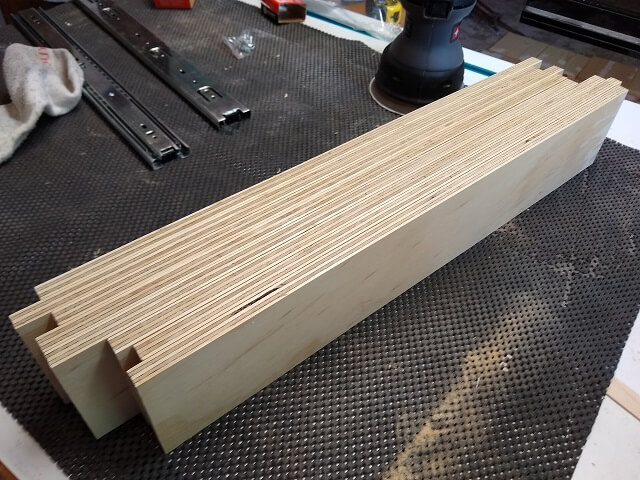
The lower part of the cabinet was going to have two drawers for storage to hold the modular control panel pieces. These shelves would slide in and out via heavy duty drawer slides. To make it so the drawers would clear the face frame around the cabinet doors, these slides needed to be mounted to spacers. I calculated that the spacers should be about 1 1/2" thick. I thought about just using some hardwood to make these thick spacers, but I realized I had enough scrap plywood sitting around that I could laminate some together to get the required thickness. I glued together two 1/2" thick pieces and one 3/4" thick piece. This adds up to 1 3/4" thick, but because plywood thickness isn't quite actual size (3/4" plywood is really 11/16" thick, 1/2" plywood is really 7/16" thick) the final thickness of the laminated wood would be close enough to 1 1/2" to make it work.
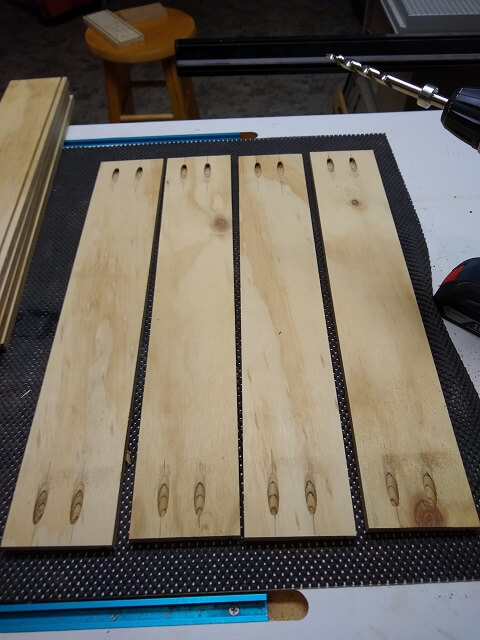
Once the glue was dried, I cut the 1 1/2" thick pieces of plywood into strips roughly 2" wide and 19" long. Then (not pictured) I drilled holes for the drawer slides.
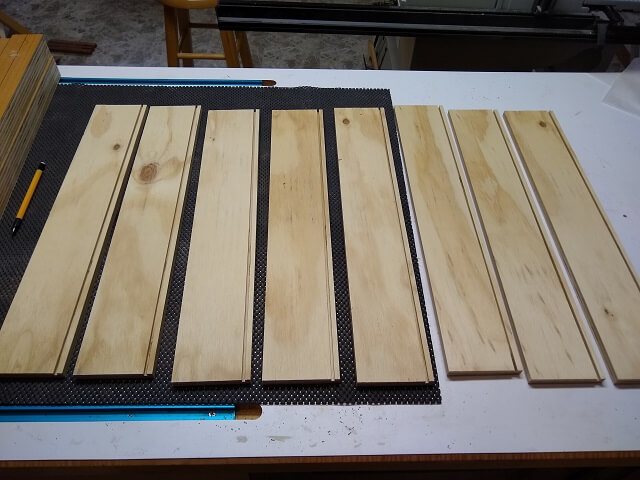
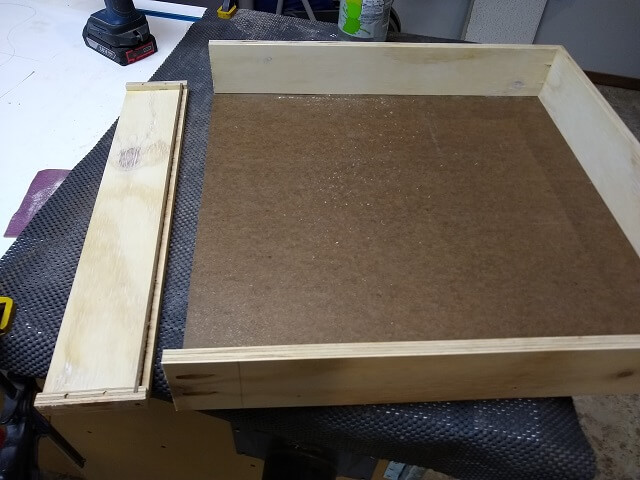
To make the drawers, I started with eight strips of 1/2" plywood cut to 3" wide. They were in two groups of four, to comprise the front/back and left/right pieces. I used 1/2" plywood to maximize the interior drawer space available, and to reduce weight. 1/2" wood would be plenty strong for my needs.
The drawer bottom would be 1/8" thick hardboard. I used the table saw to cut a 1/8" dado on one side of each of the drawer pieces. This will hold the drawer bottom in place once assembled.
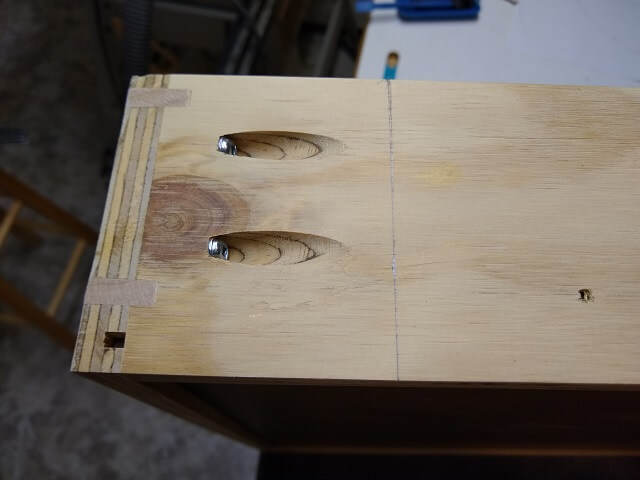
I mulled over many different methods of joinery to use for the drawers. Traditional drawers are made with dovetail joints. I almost went this route. In fact, I had my dovetail jig out and was refreshing myself on the instructions. At some point, however, I decided that was overkill. These weren't going to be high-use drawers, and I would probably be the only person using them. Because of this, the drawers didn't need to be commercial grade strength. So I decided to just use pocket screws and glue to put the drawers together. Not heirloom grade joinery, I know, but it will do. I can always come back and make new drawers if it bugs me or they start to fall apart. Here's the pocket holes drilled in the drawer sides:
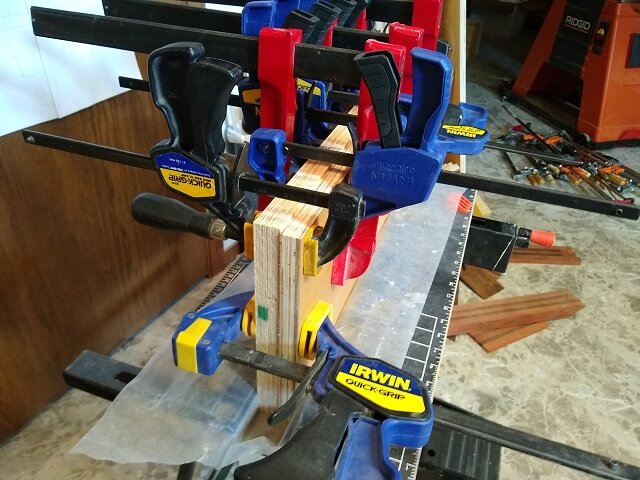
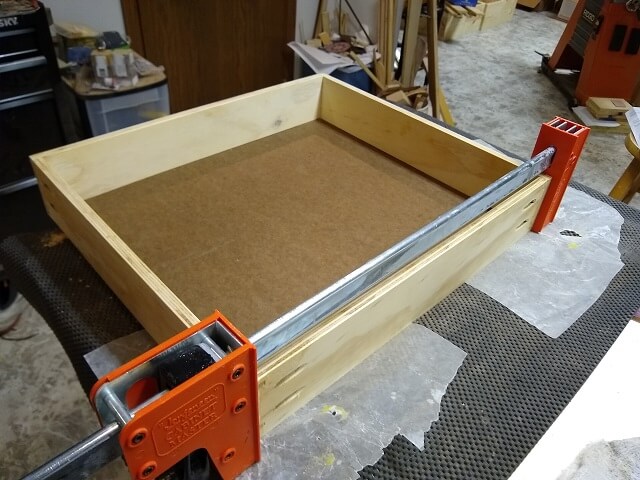
Two pieces of 1/8" hardboard were cut to the proper size for the drawer bottoms, and then the drawers were assembled. Glue was spread and the drawers were clamped together, then the pocket hole screws were installed. The drawer bottom was installed free-floating with no glue. Because the drawer sides were all plywood and wouldn't expand and contract with seasonal weather changes, I probably could have gotten away with gluing the bottoms in place, but I did decide to go the traditional route and let them float.
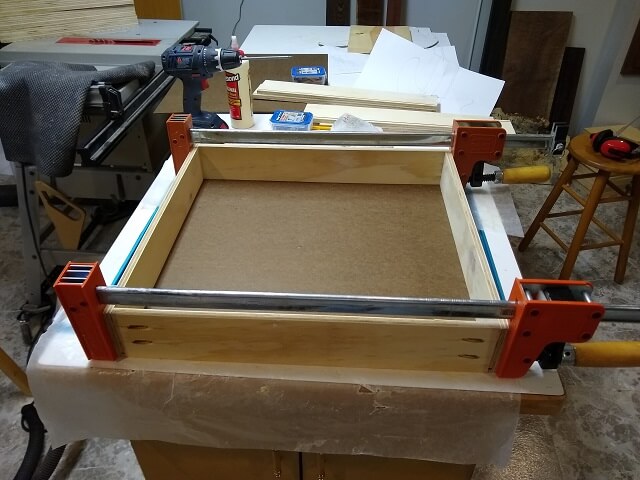
I repeated the process with the second drawer, then set both drawers aside while clamped up to let the glue dry. Ignore my wife's exercise bike sitting there. She prefers to let it sit unused in the shop, where I would prefer to let it sit unused in the guest room.

So a few days after I assembled the drawers, I started to have second thoughts about the joinery I used. I do that sometimes, especially when I lie in bed at night. The glue and pocket screw joints on the drawers felt plenty strong to my hands, but I couldn't get the idea out of my head that I had taken a shortcut. I knew it was always going to bother me, so I decided to take an extra step just to put my mind at ease.
To reinforce the joints, I decided to install a couple of splines in each drawer corner. Splines are basically a piece of wood glued in place at an angle to span both sides of the drawer corner. The idea is that this piece of wood glued across the two pieces will strengthen the joint and keep the pieces from separating over time.
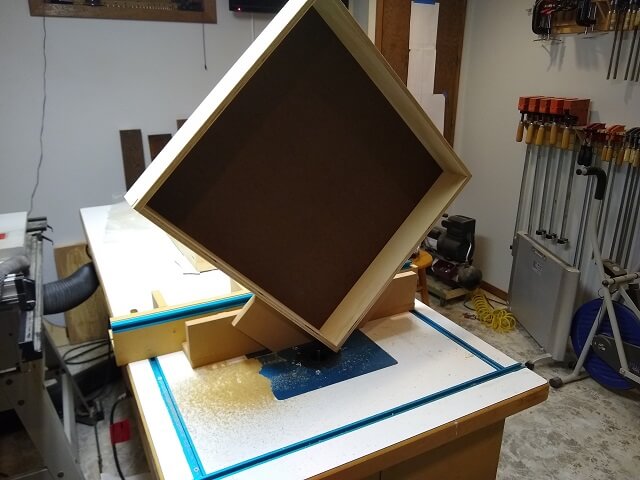
Thankfully, years ago I already had built a spline cutting jig for my router table. I pulled it off the shelf and blew the dust off of it, then used it on the router table to hold the drawers at a 45° angle as a 1/4" straight router bit cut the slots. The bit height was set to cut deep enough to make the slot pass through both pieces of the drawer joints, but not so deep as to cut through to the inside of the drawer. I also carefully positioned the splines so the router didn't accidentally cut into one of the pocket screws. That would quickly wreck a really expensive full carbide straight cutting router bit.
I adjusted the fence for one of the splines, then ran each corner of each drawer through the router. Once those eight slots were cut, I adjusted the router fence for the other spline and then ran all eight drawer corners through again.
For spline material, I looked in my scrap bucket and pulled out a piece of maple. Maple should be strong enough to do the job. This piece of scrap happened to be curly maple left over from the top of my Eddie VanHalen tribute guitar. Curly maple is really aesthetic overkill for splines, but the scrap piece was close to the thickness I needed and was odd enough of a size that it probably wouldn't be useful for anything fancier.
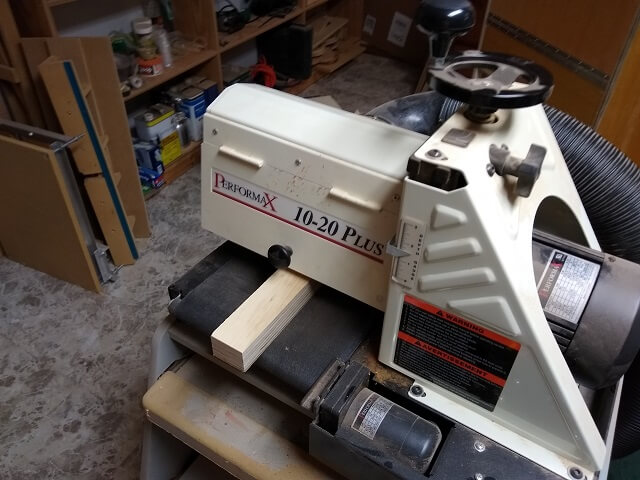
The maple piece was just a hair thicker than 1/4". The slots I had cut were exactly 1/4" wide. I used my drum sander to slowly reduce the thickness of the maple until it would slide snugly into the slot using just hand pressure. I wanted these splines to be tight, but not too tight. A loose spline held in place with glue wouldn't add any strength to the joint. At the same time, I didn't want them so tight that I risked cracking the plywood forcing the splines into place.
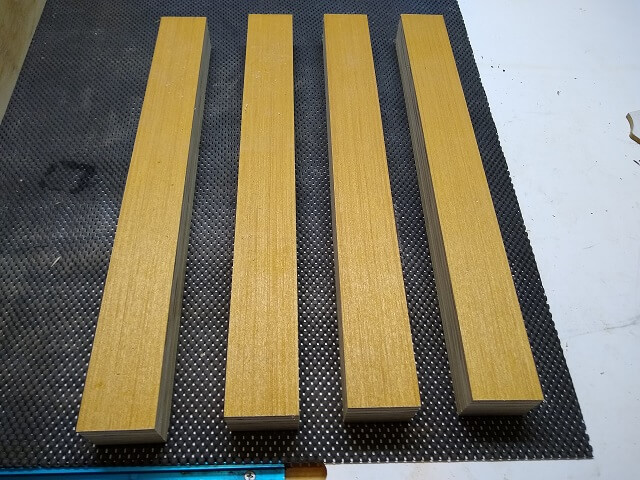
With the maple at the right thickness, I chopped it into 16 smaller pieces. Then I applied glue to the splines and put them in place. With the glue added, the splines would no longer slide into place with just hand pressure so I had to use a hammer to gently tap them down. I was very satisfied with the fit. These were going to greatly strengthen the drawer joints and once again allow me to sleep at night.
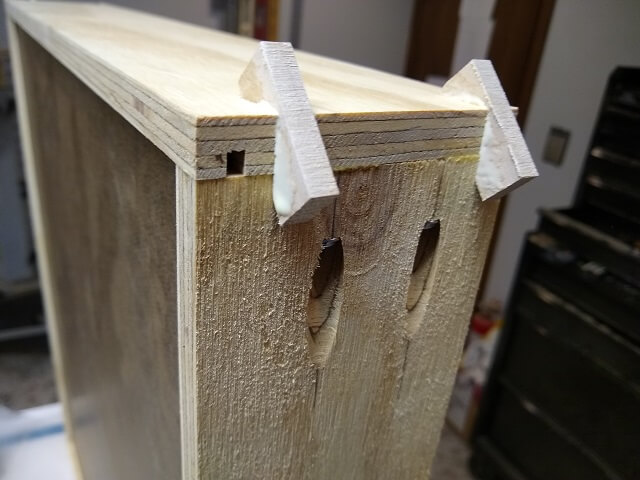
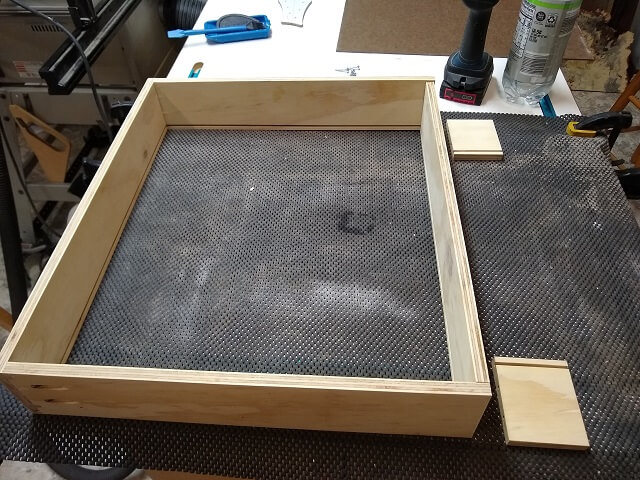
Once the glue had dried, I cut the excess spline material off using a flush trim saw. I made 32 flush cuts in total (four per drawer side) so it took almost an hour of mindless sawing to get them all cut down.

After the splines had been trimmed flush with the saw I spent some time with the orbital sander making the splines perfectly smooth with the surrounding drawer plywood.
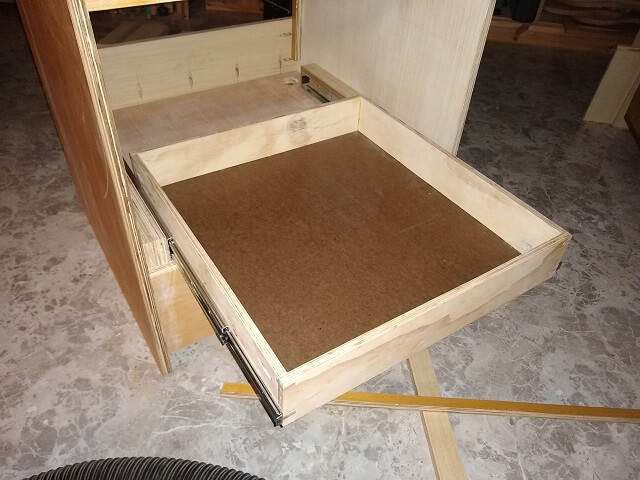
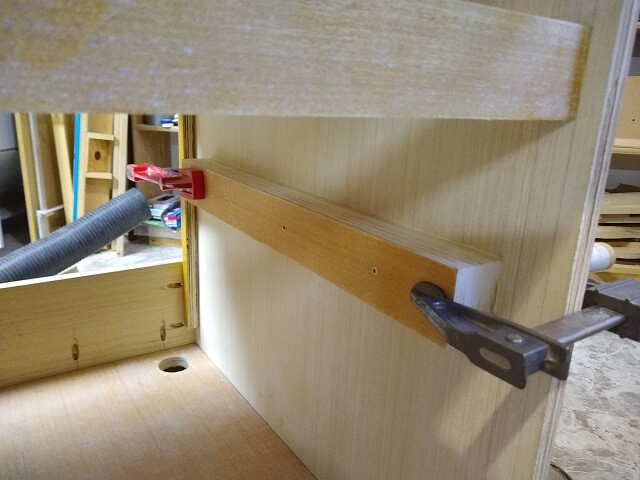
Before I went any further I wanted to make sure my drawers fit. The width of the drawer plus the two slides plus the two spacers needed to match the interior width of the cabinet exactly. I screwed the drawer slides into the spacers and the drawers and put them together, then took the whole assembly over to the cabinet to see if it would fit.
It turned out to mostly fit. It was just a hair tight, but close enough that I could push it into place with a little bit of effort. It would work, but I decided that giving the spacers a pass or two through the drum sander would give me a little bit more wiggle room. Right now the fit was tight enough that the drawer could open and close, but there was some resistance from the friction. The sanding should help that.
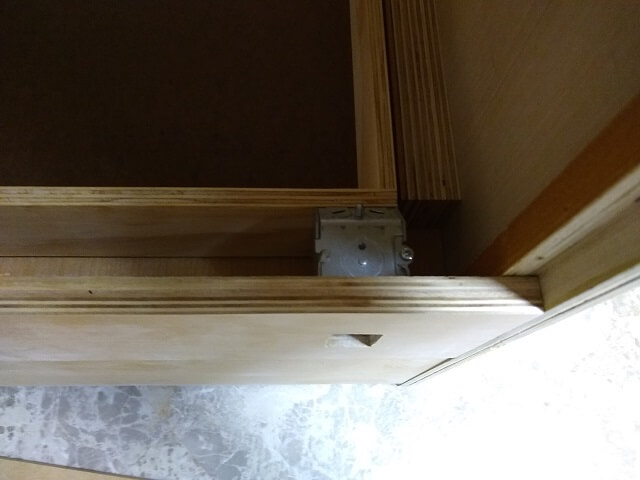
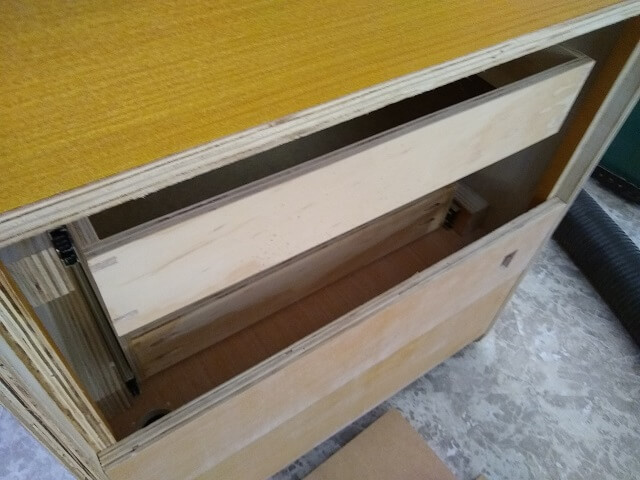
However, it was good that I did a test fitting as I noticed another more troubling issue. When calculating the drawer depth, I neglected to account for the room needed by the electrical box that will cover the C14 power cord jack plate. The drawer came within 1/2" from the back of the cabinet. The electrical box would need at least three inches of clearance. With the electrical box in place, the bottom drawer would stick out of the front of the cabinet.
Here's a view from the back side, with the electrical box sitting in place. You can see that the drawer is making contact before it can slide completely back.
Well, stuff happens in every project. As I so frequently say, "I never stop making mistakes, I just get better at hiding them." While I was not thrilled I made the goof, I was very happy I discovered the problem when I did when it was easier to deal with it. Had I not figured it out until after the cabinet had been painted then it would have been a much more aggravating problem.
I paused for a while to consider my options. The way I saw it, I had three: omit the electrical box altogether, move the electrical box or make the drawer shallower. Upon initial consideration, in terms of effort these were ordered from easiest to hardest. However, easiest is not alway the best approach.
I didn't consider the first option for hardly any amount of time. Omitting the electrical box could be done from a fitment perspective, as the power jack plate hardly needed any space behind it. However, the electrical box is there to keep fingers and other items from accidentally coming in contact with the exposed terminals on the back of the plate. Without the box in place it would be way too easy for accidental contact to happen while digging around in the back of the drawer. Despite being an easy solution effort-wise, it was unacceptable safety-wise. Zzzap is a video game, not what should happen while you're playing the video game.
The next option would be to move where the jack plate would be located. Moving it upward by four inches would allow the base of the drawer to pass under the electrical box. This initially seemed to be the most appealing option, but the more I thought about it the less I liked the idea. My cursory observation said, "just move the back panel with the hole for the electrical box up four inches." However, this panel had been installed with pocket screws and glue, so moving it was going to take some surgery. The rear panel piece I had cut to fit above this moved panel would have to be modified to fit the smaller opening, and another piece would have to be made to fill the new gap below the moved panel. The electrical outlet would be farther from the base of the cabinet, and aesthetically it was already at max height (at least to my eye.) But the biggest thing I didn't like was having the electrical box protrude into the drawer area. It wasn't too difficult to imagine a drawer packed with items slid into place and discovering that the box was keeping the drawer from closing completely.
This left a third option, which was to make the drawer shallower. I had enough work put into building the drawers that this option was a bit disheartening. However, the more I thought about it this seemed like the correct decision, even if it was a difficult one.
The good news was, the electrical box only interfered with the bottom drawer. The top drawer could be left at full depth without any problems. So only one drawer would need to be modified.
So, with the one drawer that needed to be shallower, I thought about either modifying the drawer itself, or just making an entirely new one from scratch. I didn't have enough material left sitting around to build a new drawer, so that would have required a trip to the hardware store. I also wouldn't know what to do with the old larger drawer, so that would likely sit around unused in the shop for a long time before finally getting moved to the city dump.
Modifying one of the drawers seemed like a better option versus starting over. However, to quote the Wicked Witch of the West....

To start, I did some measuring to figure out how much the drawer depth needed to be reduced. The electrical box is 2 1/2" deep, so I figured reducing the drawer depth by three inches would give me plenty of clearance. I marked both sides of the drawer at the three inch spot.
At the bandsaw, the back side of the drawer was removed. I didn't trim the drawers to the new depth yet, I was just removing the back piece. I could then slide the drawer bottom out (glad I didn't glue it in place!) My plan was to re-use the back piece so that I didn't have to re-cut a new one.
With the drawer bottom removed, I could then trim the drawer sides to the new length. I also trimmed the back piece shorter so that it would sit between the drawer sides. This means the bottom drawer is constructed slightly differently than the top drawer, but at the end of the day it really doesn't matter as long as the drawers function properly. I highly doubt anyone is going to inspect the two drawers and call me out on my inconsistency.
The drawer bottom was slid back into place, and the back was glued and pocket screwed back together. Much to my surprise, resizing the drawer wound up taking less than an hour not counting waiting for the glue to dry. When I initially decided to resize the drawer I figured it would take an entire evening.
I decided to forego the use of splines on the drawer back. With the modified construction, the usage force will be applied perpendicular to the pocket screws. Previously it was parallel. Perpendicular is much stronger, so I decided to gamble that I could get away without using the splines. Plus, this is the back of the drawer which shouldn't have as much force applied to it as compared to the front.
Once the bottom drawer was resized, it was time to install the spacers into the cabinet. During my earlier test-fitting, the drawers fit but were just slightly on the tight side. I ran each of the spacers through the drum sander to remove 1/32" of width. This should give me a little more wiggle room to allow the drawers to slide freely.
I cut a piece of scrap (not pictured) to use to set under the upper spacers while gluing and clamping them in place. Using the scrap ensured that both drawer spacers were exactly in the same spot vertically. Using tricks like this is a lot more accurate than measuring.
163 The bottom drawer spacers would sit directly on the bottom of the cabinet, so I didn't need to use a piece of scrap for these. All four drawer spacers were glued into place.
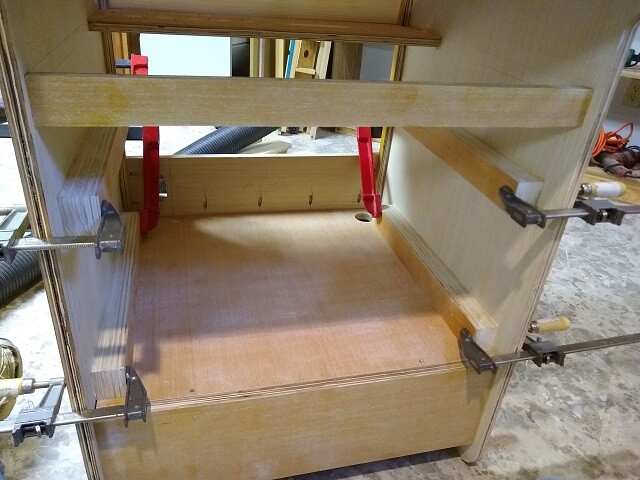
After the glue dried I removed the clamps. Then I screwed all of the rails in place and did a test fitting of the drawers. I would have to remove the rails again before painting, but I decided if there was a fitment issue it would be easier to fix now before paint had been applied.
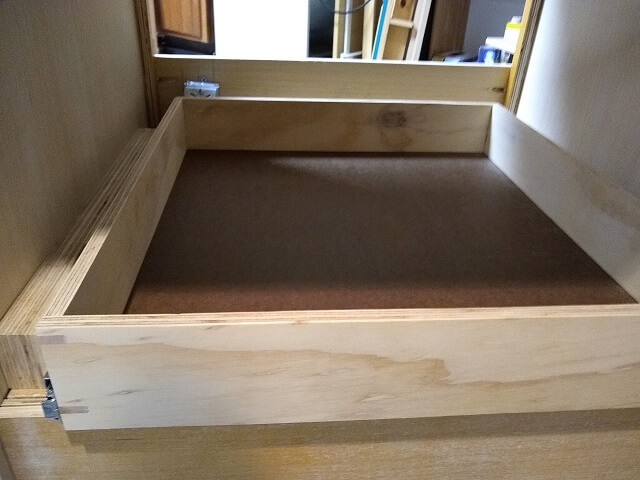
Much to my relief, the drawers fit fine.
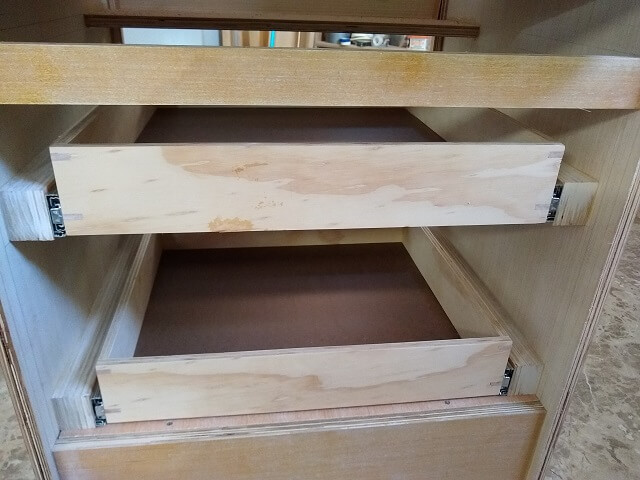
The drawers slid in and out without any binding. The cabinet itself is heavy enough that I have no worries about sliding both drawers out at the same time, even if the drawers are loaded down.
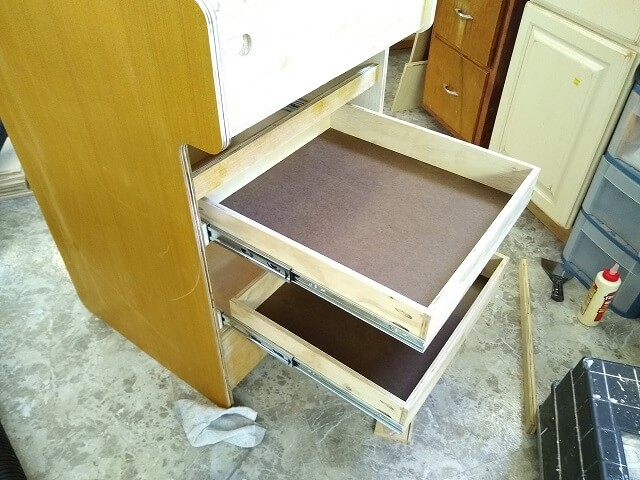
I also double checked that my shortened lower drawer now gave enough room for the electrical box. There was now plenty of space. In fact, I probably could have left the drawer an inch longer and still had clearance.
With the two lower drawers completed, there was another drawer I had to create: the keyboard tray. Technically this was not a "drawer" as it doesn't have any sides to provide depth, but because it will slide in and out I'll add it to the drawer section of the project.
Earlier I had created the holes for the keyboard slide hardware on the underside of the control panel portion of the cabinet. I was pretty sure at that time that I cut a piece to be used as the keyboard tray. However, there are a LOT of pieces to this project. At some point I think I accidentally cut up my keyboard tray to make some other piece. Oops.
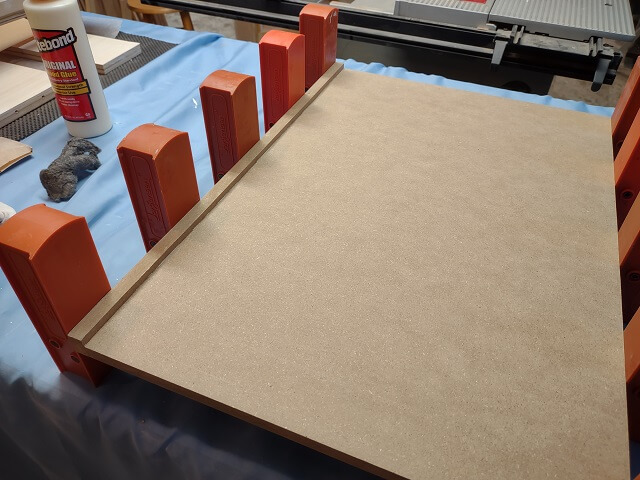
I was out of 3/4" plywood, at least in the size I would need for the keyboard tray. Plus, I think 3/4" thickness would be overkill for a keyboard tray. So, I used some 1/2" MDF that I had available. I cut the tray to the proper size, and glued a small "lip" on the front to help keep the keyboard and mouse from accidentally sliding off the front of the tray while in use.
The cabinet construction is finally done! Now it's time to paint the cabinet.
Return To The Main Wood Gallery
This page last updated on 09/21/2023