


If you live long enough, and do enough painting, eventually you're going to come across a situation where you would like two different colors to be applied adjacent to each other. Unless you're a psychopath (I'm joking here) we want the line between the two shades of paint to be nice and crisp. Unfortunately, the traditional method of using masking tape to define this line usually gives less than desirable results.
What happens is when painting over edge of the tape, a little bit of the paint tends to bleed underneath the tape edge. We scientists call this "capillary action." Ok, technically I'm a computer scientist, but hey, it's still science. Regardless of what you call me, what happens after the tape is removed is a kind of ragged line that doesn't look as good in real life as it did in our imagination.
This is even more pronounced when applying paint via a brush or roller, as these application methods tend to lay the paint on thicker than when spraying. However, the phenomenon still happens with paint applied via a spray gun or can.
Adhesive tape manufacturers will sell you fancier tapes that supposedly address this issue. In my experience, they improve the situation but it's not a silver bullet. To be fair, I haven't tried every product out there. Maybe there are some kinds of tape that solve the issue.
I'm here with some good news, however! On this web page I'll show you a neat little trick for getting perfectly straight lines with regular old blue painter's tape, and it only takes one additional step than what we were already doing before.
For the demonstration, I'm painting a piece of scrap wood. I'll be using latex paint, but this technique should work fine regardless of the type of paint being used. Also, because this is just a demonstration I'm not laying down a coat of primer or doing any sanding. Obviously when painting something nicer you'll want to do both.
To compare the two methods, on the left side of the sample piece I'll be painting/masking/painting using the traditional method. On the right side of the sample piece I'll be using the "new and improved" method. Actually I'm not sure how new this method is, but there is no doubt it's improved.
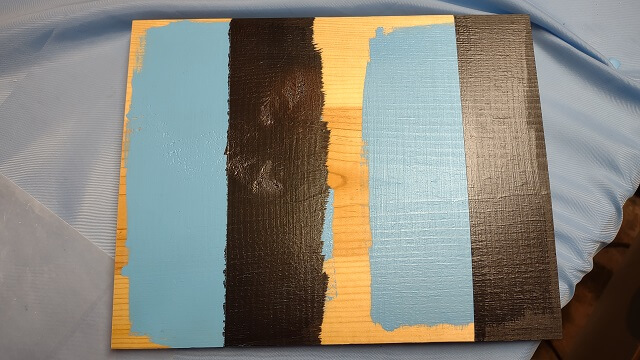
To begin, let's start by laying down a coat of our first color. Usually you want to paint the lighter color first. In my case I'm using the two shades of paint from the arcade cabinet I made: light blue and black. There's no debate as to which color is the lighter of the two. I painted a section of each side of the board with a coat of light blue paint:
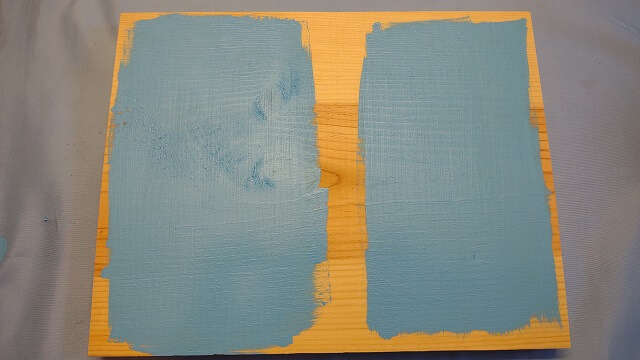
In real life you probably would want to apply at least one more coat first to ensure good coverage, but again this is a "quick and dirty" demonstration. Once the coat of initial color is dried, the tape is applied so that one edge of the tape aligns with the location of the desired line between the two colors. For my demo it really didn't matter where the line wound up; I just eyeballed it and stuck the tape down around the center of the two sample sides. In a real-life application you probably would want to do a lot of measuring and careful application of the tape to get it exact.
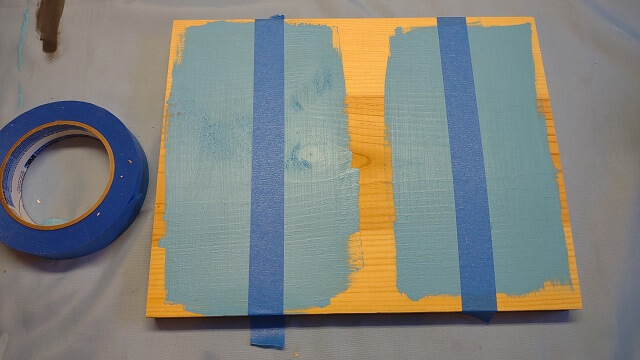
Now here's the trick: On the left side sample I did nothing. On the right side sample is where I'm doing the one additional step. After the tape is applied, along the color boundary edge of the tape, I applied another coat of the lighter color. That seems a little counterintuitive and unproductive, but this is the key. What happens is the above mentioned capillary action is sucking in the wet paint, however because it's the exact same color as the original paint it won't be seen after the tape is removed. Again, on the left side of the sample, nothing was done for this step.
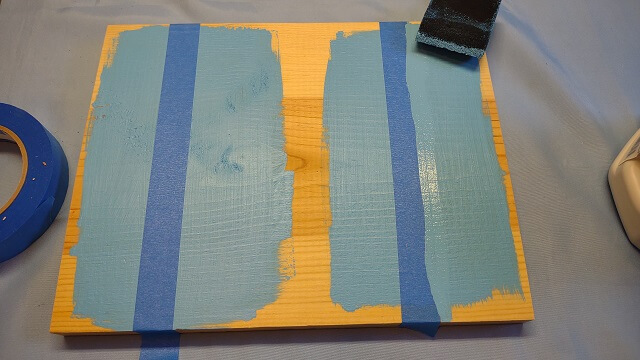
That next coat of paint is allowed to dry. The paint that got sucked under the edge of the tape also dries, and what makes this technique work is that the dry paint of the first color "seals" the edge of the tape so that the next coat of darker color doesn't suffer the same capillary action that spoils the paint line. Now we can apply our second color on the desired side of the tape line.
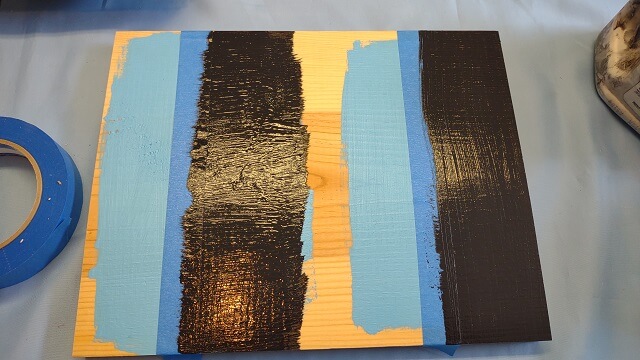
When that darker coat of paint is dry (or at least dry enough; you don't need to wait until it's completely cured) the tape can be removed. In my sample it should be pretty obvious the difference between the two methods. The left side sample has a line that is fuzzy and undefined, where it's obvious the darker color seeped under the tape edge. The right side sample is completely (dare I say "astoundingly"?) crisp and defined with no bleed between the colors.
My hope is that you find this little trick useful. I went about 43 years, and painted a lot of fuzzy lines before I learned this method. Those days are now behind me. And hopefully behind you as well.
Return To The Main Wood Gallery
This page last updated on 04/11/2023