


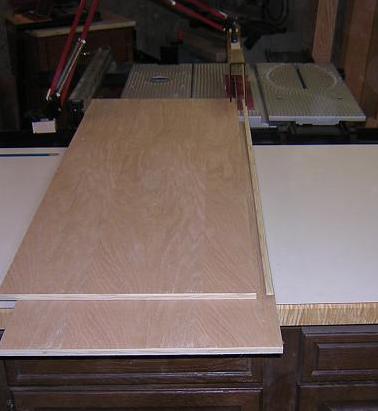
Now that the plywood pieces were rough cut to size with a circular saw and back in the shop, it was time to cut them to final size. First, I ripped each of the plywood pieces to final length and width on the table saw. When crosscutting these large pieces, the sliding miter table on my BT3100 table saw proved invaluable, as it allowed me to get very accurate cuts with a minimum of fuss.
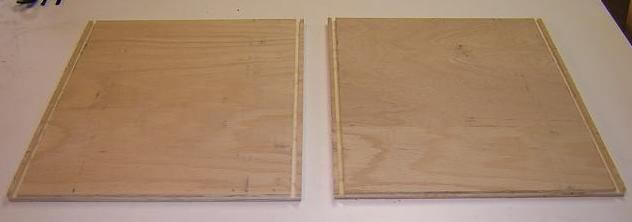
Once the pieces were cut to size, I set up the saw ith a dado blade and a sacrificial fence and began cutting rabbets in each side of the front and back pieces.
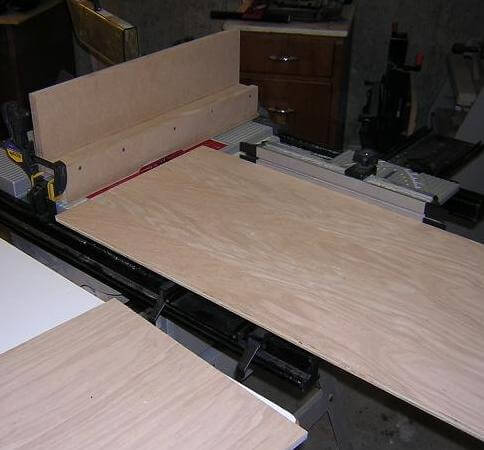
The original plans I was using as a (very) rough guide called for the sides box to attach to the front and back of the box by just butting up against the rabbets and being held in place with glue and brads. I didn't feel that this would be very strong, so instead, I opted to flip the front and back pieces around so the rabbets faced outside, then cut a dado in each side piece to for the rabbets to slip into. I wanted to make sure these were very accurately cut, so I spent a little time with some scrap to test my setup. In case you've never done this before, here's a great little method for cutting perfect dados the second time.
Once I had my setup just right, I plowed the dados in the box sides.
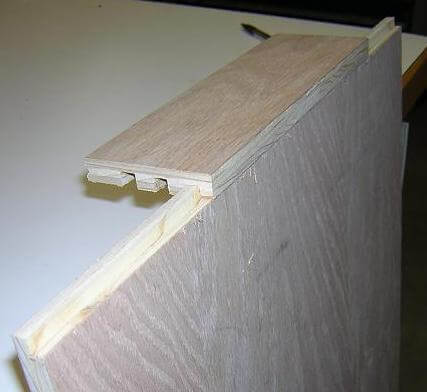
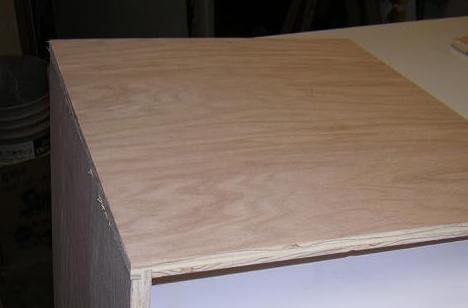
Of course, you still want to test fit things before you go too far. Here's my test fitting of one of the sides to the box front. I was pretty happy with the fit, so I continued on.
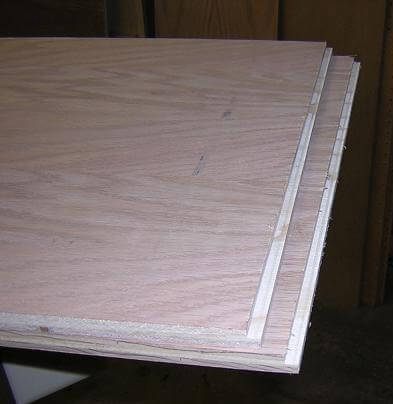
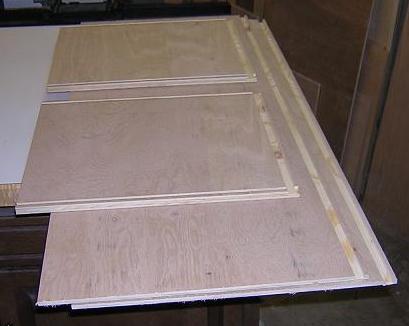
The floor of the box would sit in a dado cut into the four side pieces of the box, approximately 1/4" from the bottom edge. Again, after setting up the saw I used some scrap to verify that I had everything adjusted correctly.

After double checking that I was cutting the dado for the box floor on the correct side of the side pieces (it's actually very easy to get this messed up) I plowed the dados. At this point, all of the box pieces have been cut and the joinery had been machined.
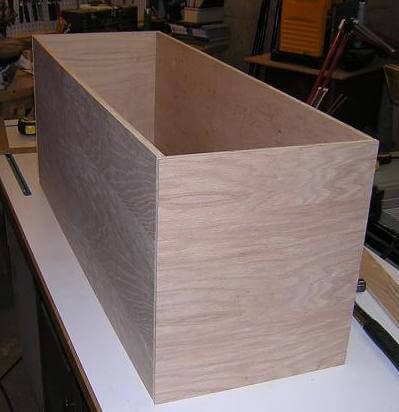
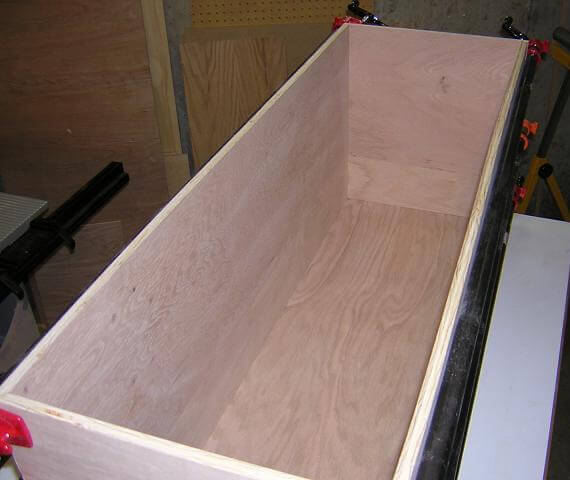
Prior to glue up, it's always a good idea to dry fit everything and make sure you didn't make any mistakes. It's a lot easier to correct problems now rather than when you have glue dripping all over the place. After dry fitting, I was pleased to note that the carcass was quite sturdy even without the glue, meaning that the joints were well fitted.
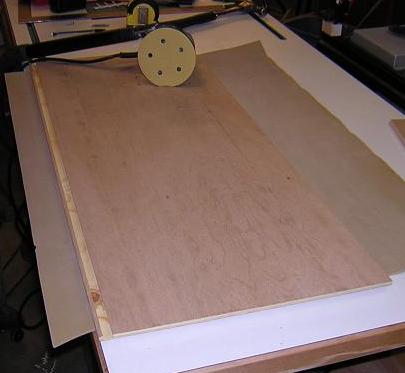
I took everything back apart and spent some time sanding the pieces, especially the inside faces, as the corners would be very difficult to get smooth once the box is assembled. I sanded the inside faces to 220 grit.
Once the pieces were sanded and smooth, I glued up the carcass. Although everything fit nice without clamps, I went ahead and used them anyway just to make sure things were tight. Before the glue set up I also took some corner to corner measurements to ensure that the box was square.
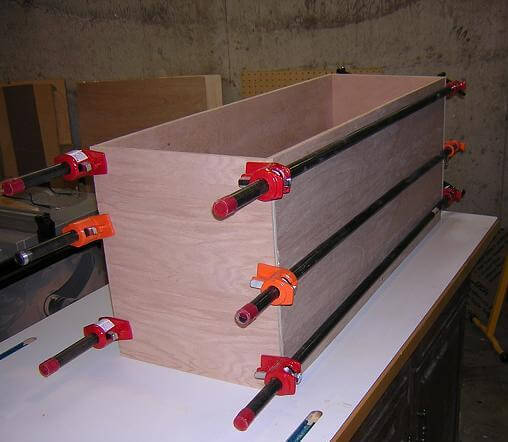
One area that I had to be careful with when doing the glue up was dealing with squeeze out on the inside of the box, as again in the corners it can be difficult to remove. I mitigated this by keeping most of the glue in the joint towards the outside of the box. I did have one small pinhead-sized drop of squeeze out, but this was easily removed with a chisel after the glue had started to set up.
Now we need to build legs for the box.
Return to where we cut down the sheet goods.
Back to the toy box main page.
Return To The Main Wood Gallery
This page last updated on 06/28/2018