


Admittedly, I'm kind of a seat-of-the-pants kind of guy. I don't spend an undue amount of time planning anything, rather I get and idea of what I want to do and run with it. If I run into an obstacle that forces me to change my course of direction, then I deal with it at that time. Thankfully I don't drive this way!
A guitar, however, is not something you can just throw together and work out the details as you go. Every component and feature must be designed to work with the others. Making a simple change can result in a cascade effect, with numerous other aspects of the guitar changing as a result. Because of this, I actually spent a large chunk of time designing and planning the instrument and trying to account for every feature.
I actually started the planning stage about five years ago when I purchased Melvyn Hiscock's book Make Your Own Electric Guitar. This is considered the definitive book for a beginner starting out in electric luthierie. This book doesn't offer any detailed schematics or plans, but rather covers the basic facets of all parts of electric instrument making and takes you along on the journey while the author constructs three different guitars. This book was an invaluable reference for me in the design and construction process. If you're interested in building an instrument yourself, I highly recommend this book.
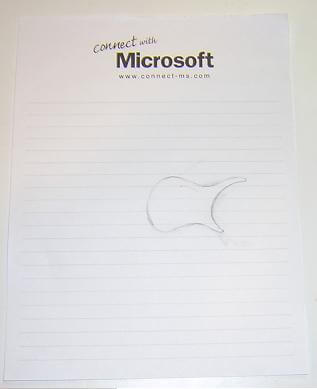
To begin with, I had to determine the shape of the guitar body. I'm no artist, but here's what I did: during a dull meeting at work I started doodling out some guitar shapes. Some of them were absolutely atrocious and were swiftly destroyed before the taste police came after me. Eventually, I sketched out a rough idea that I liked. Here's a picture of the actual doodle:
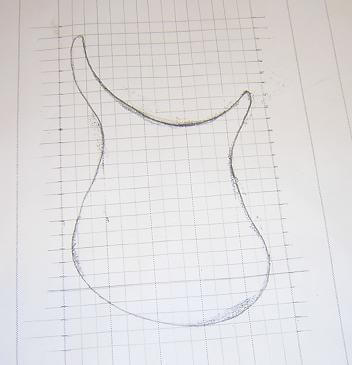
Once I had the rough sketch on paper, I had to figure out a way to make it larger in order to draw out a full-size plan. My doodle was too small to enlarge to full size on a Xerox (the lines would have wound up an inch thick!), But I did blow it up 300% which made the lines a little fuzzy, but not too bad. That made the drawing a little easier with which to work. I then drew in grid lines at 1/4" increments that I later could use to blow the image up to full size.
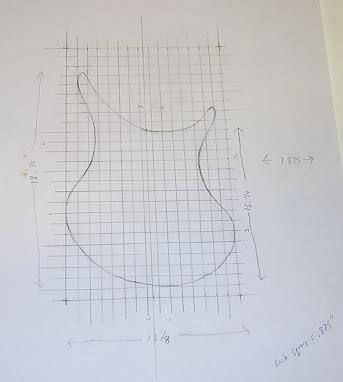
I then had to decide what size grid I would use to determine the full size guitar. I did a little figuring, and decided that if I blew the grid up to 7/8" squares, that would put me in the balpark. At this point, however, the width of the top horns would have been about right, but the waist and the base of the guitar body would have been pretty narrow. Because I had Xeroxed my orignal pencil drawing, I couldn't just erase the lines and make the corrections. Instead, I had to pull out the trusty Lone Ranger Electric Drawing kit and trace my pattern on to a new piece of paper. Took a few minutes, but that gave me the ability to erase the original lines and widen the waist and base of the guitar body. Also, I decided that the top horn was a tad long, so I tweaked it some.
At this point I was pretty happy with how the shape was coming along, and decided to blow it up to full size. I taped a bunch of pieces of paper together to give me enough room (didn't have a large roll of paper available) and drew out a grid of 7/8" squares. Then using my small drawing with the 1/4" squares, I marked every place the guitar edge crossed a grid line on the full-size grid. Once the intersections were marked, I then drew in the lines between them. I took some time to make sure everything was shaped correctly. Lots of erasing, drawing, looking, repeat...
Now that I had a full size drawing of the body shape, I marked the center line on the body and proceeded to draw out the rough location of the components. Then I taped on more pieces of paper and drew in the neck and headstock. As I did all of this, I had to carefully calculate all measurements to get everything flowing together correctly. This at times necessitated modifications to how the body was shaped. For example, the top horn was still too long after being shortened in the previous step, so I shortened it some more. I also had to modify the shape at the point where the neck joins the body, as how I originally drew it up the join would have been between the 19th and 20th fret and the neck tenon would have been way too small.
As an interesting note, when looking at the full-sized plans after they were drawn up, everyone who saw it said "wow, that guitar is huge!" Indeed, it did look big to me as well, and Melvyn Hiscock mentions in his book that many beginner's first designs actually are too large. However when I would measure my design and compare those measurements to some of my other guitars, the measurements weren't that much different. I finally decided that the grid lines were playing a trick on my eyes and to just go with it. Later on when I cut out the body, I was surprised that it now looked a hair smaller than what I had wanted. Not small enough to redo, but in retrospect I probably should have marked the grid lines at 15/16" square instead of 7/8" square. Just a word of warning to anyone who designs their own instrument: on paper the size can be deceiving!
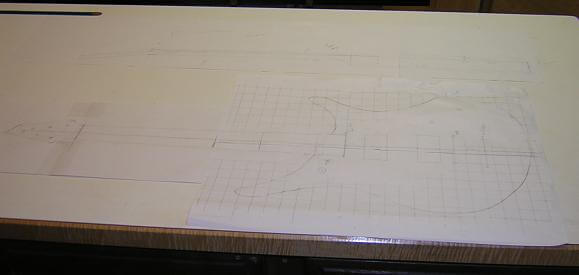
Once I had a completed top view and was satisfied, I then made a full-sized side view. This allowed me to calculate the necessary neck and headstock angles. I was beginning to understand that there was a lot more to designing a guitar than I had ever realized! Finally, I had two full-size working plans from which I could begin building the guitar. The picture below shows them, although it's a little hard to see. In addition, I had to rescue my plans from the clutches of Tundra Boy, who at this time was approximately 21 months old, so it got a little wrinkled.
Here is (more or less) what I decided on with this guitar:
- Scale Length: 25.5"
- Number Of Frets: 22
- Neck Dimensions: Nut Width - 1 11/16", Nut Depth - 11/16", Heel Width - 2 1/4", Heel Depth - 15/16", compound radius fingerboard.
- Body Shape: Double cutaway, offset base, approximately 19" X 12/5"
- Neck Angle: 2 degrees.
- Headstock Angle: 10 degrees. Later changed to 12 degrees
- Headstock shape: Small, 3+3 Sperzel tuners, arranged for straight string pull. Enlarged from original to provide tuning machine clearance.
- Body Thickness: 1.5"
- Body Materials: Mahogany back with maple cap.
- Neck Materials: Laminated Maple/Mahogany neck. Maple veneered headstock. Ebony fretboard.
- Pick-ups And Controls: Two Humbuckers, 3 way switch, 1 volume pot, 1 tone pot. Pots are push/pull to switch pickups between series and parallel wiring. Side mounted output jack.
- Truss Rod: Dual action truss rod installed from top of neck. Headstock adjustment access.
- Control Mounting: Rear mounted controls, in two chambers.
- Binding: Cream binding around body, fingerboard and neck. Headstock binding was later decided against.
- Inlays: Going to have some, but haven't yet decided. Went with simple, abalone dot-inlays.
- Contouring: Completely flat top. Back will be rounded over, have beer-belly recess and the neck join will be shaped.
- Fretwire: Fairly large. Les Paul width but slightly taller.
- Finish: Type still in decision. Body and headstock top will be blue, back and neck will be natural.
- Bridge: Tune-o-matic. Either stop tailpiece or through-body mounting.Decided on through-body
Now that I know what I want to build, I can gather and prepare the rough stock.
Or, you can return to the main guitar page.
Return To The Main Music Gallery
This page last updated on 06/28/2018