


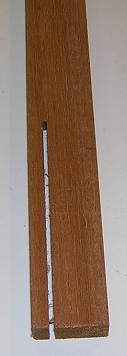
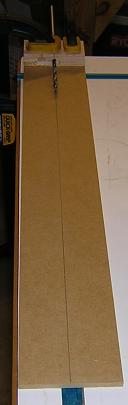
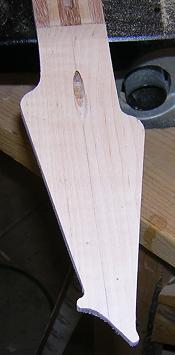
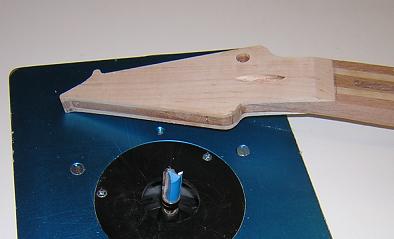
Now it was time to do the truss rod channel. On this neck I am plunging it prior to gluing on the headstock ears in order to avoid the problem I ran into with the last neck where the router edge guide wouldn't clear the headstock area. Actually, after completing the truss-rod channel on this neck, I decided that on the next guitar I may do the channel as the first step after gluing up the blank, as I did have to be careful to keep the router straight over the scarf joing and neck tenon areas. By routing the channel first, I wouldn't have to contend with these issues. You can also bet that I made triple-sure that the edge guide screws were good and tight, so I wouldn't have to deal with router drift issues like previously. I took light passes (about five) until I reached final depth, being a little timid after my veneer incident and having the router bit explode while doing the previous neck.
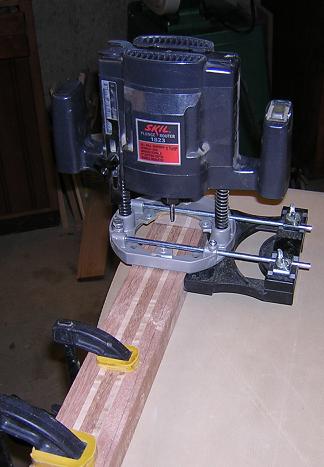
This truss rod channel turned out much straighter than the last neck's channel, although that wouldn't have been too difficult! Sorry for the blurry picture.
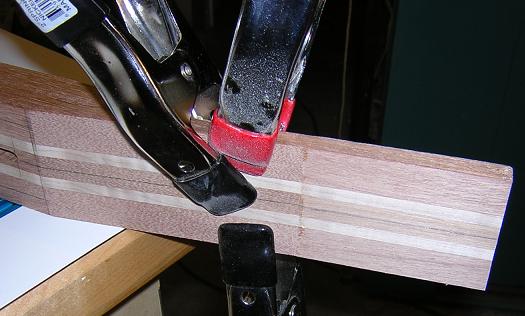
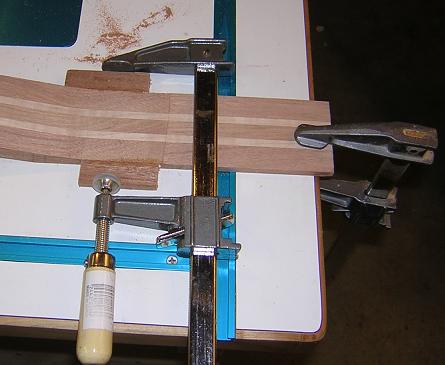
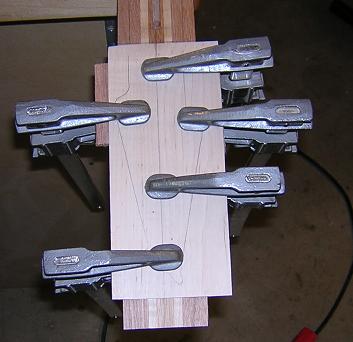
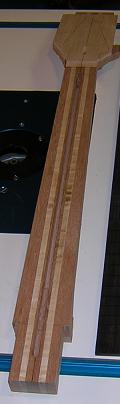
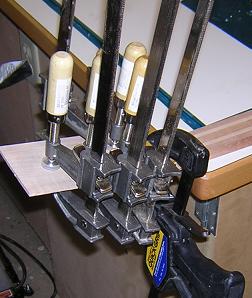
With the channel routed, I went ahead and glued the main scarf joint. I will wait until after the neck profile is cut to add the ears and the veneer, but I wanted this joint to be complete so I could use the neck angle as a guide when cutting the profile. This glue up was a little tricky because the pieces wanted to slide around. I found that if I used traditional F clamps, they would put too much pressure on the joint and force it out of alignment. Instead, I used three spring clamps that held tight enough to give a good join, but not so tight that the piece started to shift.
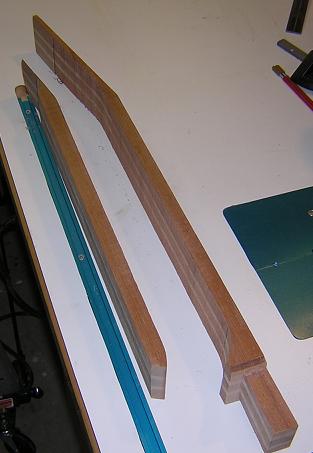
After the glue had dried on the scarf joint, I removed the clamps. Now it was time to cut the back of the neck (thickness). I used the band saw to make this cut, then cleaned up the scratches with a belt sander.
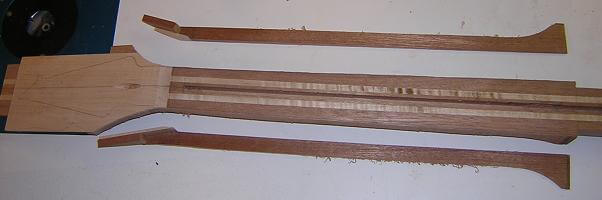
Like the previous neck, I was going to have to add some wood to allow the shape of the headstock to be cut. The width of the laminated neck blank was approximately 2 1/2". My headstock pattern, at it's widest point was around 2 3/4", so I was going to have to add some "ears" to this wider point of the headstock. On the previous neck I had done this earlier in the construction phase, where I learned that it made life a lot more difficult to have to work around the extra wood sticking out. With this neck, I should now have all of the operations completed where the ears would get in the way.
Making the ears was a fairly simple process. I used my headstock to set the table saw fence to cut a strip of mahogany the same thickness as the headstock. Then I took a scrap piece of wood left from the neck blank wood and cut a strip. Because I didn't need a lot of this wood, I did a stop cut on the table saw so that I would have a more useful piece of scrap left over.
Then I cut this strip free from the main piece of mahogany, and cut that strip in half to give me the "ears."

Next, I simply glued them to the sides of the headstock in the proper places.
After the "ears" had dried, I could glue on the veneer I created earlier. I used my new headstock template and drew the peghead shape on to the veneer, along with a center line. I used this center line to line up the veneer with the center line on the neck, so that the headstock would be correctly aligned. The glue up was uneventful, just spreading glue, clamping it up and letting it cook until dry.
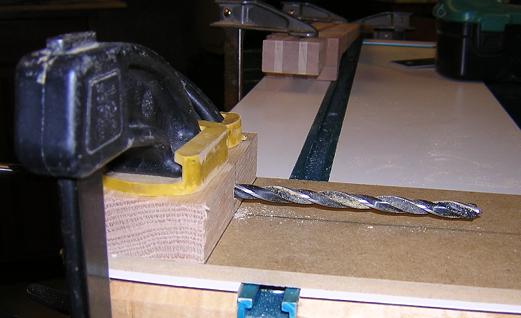
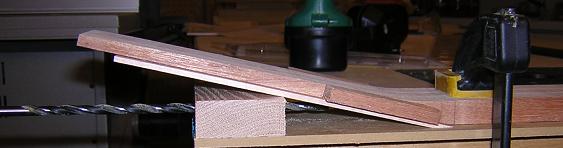
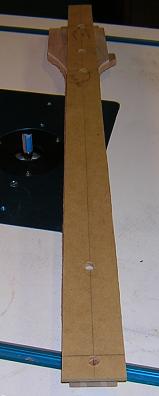
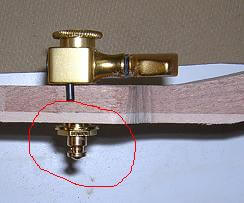
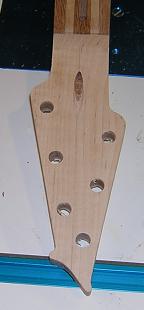
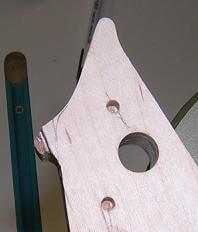
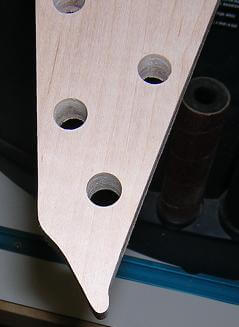
With the peghead veneer in place, I was at a point in which I had been concerned: providing an access point for the truss-rod adjustment. This guitar having a glued-in neck, the access point would obviously have to be located on the headstock end (vs the body end like old Fenders.) The trick was how to figure out how to drill this hole cleanly and accurately, as drilling horizontally into the shallow 12 degree headstock angle could easily be a recipie for disaster. Being that the headstock is one of the focal points of the guitar, I didn't want the access hole to be ugly. The hole would have to be 1/4" in diameter, with it's center located 5/16" below the face of the neck.
My solution was to create a jig specifically for this purpose. I took a piece of scrap and marked a point 5/16" from the edge. I then drilled a 1/4" hole through the scrap piece. Next, I cut a piece of hardboard slightly longer than the neck, and drew a straight line down the middle to be used as a reference line. The scrap piece with the hole was then glued onto the hardboard, making sure that the center of the hole lined up perfectly with the reference line on the hardboard. I could then set the neck, face down, on the hardboard piece and line up the reference line with the center lines on both sides of the neck and clamp it in place. An extra-long 1/4" drill bit was then passed through the hole on the end of the jig. With this set-up, I was able to drill the access hole. I did have to go extremely slow when drilling, as the neck angle made the drill bit want to wander downward. Here are pictures of the jig and it's use.
Overall, I was very happy with the way it turned out, and even happier that I figured out how to create a jig to do it!
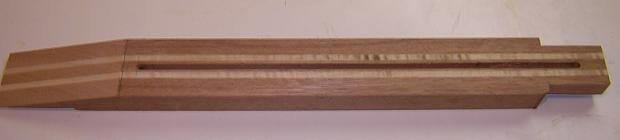
Now it was time to cut the side profile (taper) of the neck. I removed most of the waste with the band saw, then used the tapering jig I'd created earlier along with the pattern cutting bit in the router table to trim the neck to final size.
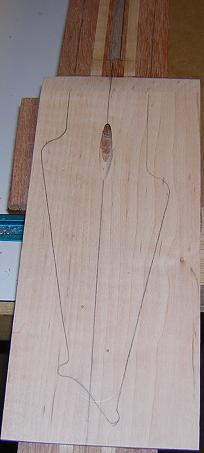
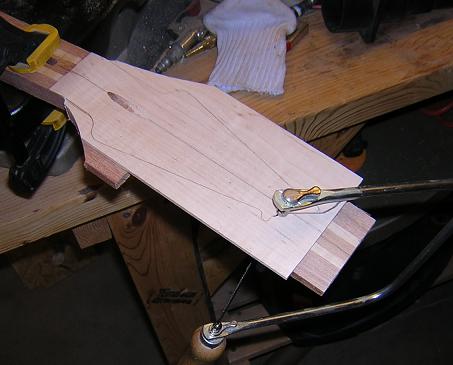
I then used a coping saw and cut out the peghead. Because of the neck angle, I couldn't use the scroll saw like I did on the last neck. I decided after seeing how rough the cut turned out, and how much sanding I had to do, to use the pattern cutter on the router next time.
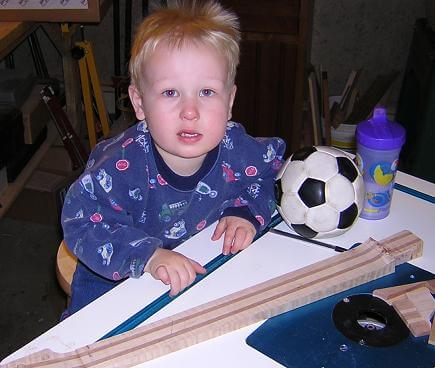
Speaking of the last neck, I gave it to Tundra Boy to play with. He's been in the shop during quite a bit of this construction, overseeing my work and making sure I'm not slacking off.
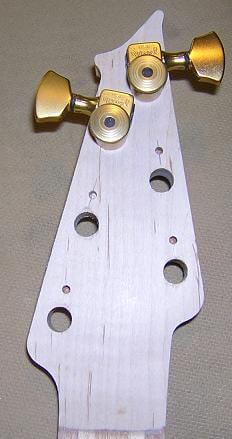
Up to this point, the construction of this second neck had gone without a hitch, so sure enough I was bound to run into one. After I cut out the headstock, I began the drilling of the holes for the tuners. I drilled the first hole, then (wisely) decided to test-fit a tuner. What I discovered, was that I had made the peghead too thin. I had originally aimed for a 1/2" thick headstock, but after sanding everything smooth, I was closer to 3/8". This made the tuner way too loose in the hole, even when tightened all the way. I was going to have to address this issue.
Obviously, I had to either start over (again) or add some material to the headstock. I voted (again, obviously) to add material. Using the same procedure I used to create the veneer used on the front of the headstock, I created another piece to glue onto the back of the headstock and make sort of a headstock "sandwich". This covered some of the decorative lamination, but I guess that's the price I pay for screwing up! I glued and clamped this veneer onto the back of the peghead.
When the glue was dry, I used a flush-cutting bit in the router to trim off the new piece of veneer exactly with the existing headstock.
Then I drilled the holes for the tuners. These tuners also required a small 1/8" positioning hole to keep the tuner from spinning in the headstock, so I drilled those holes as well. I test fitted my tuners to make sure they had adequate clearance at the top. With a great sigh of relief, they fit. This was a nerve wracking discovery, as the clearance issues turned out to be the final death-blow for the previous neck.
As I was sanding and cleaning up the headstock area, I ran into my next problem: I slipped with a chisel and hacked off the corner of the headstock. Noooooo!
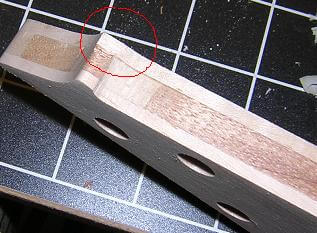
The chunk went flying. I spent a little time down on my hands and knees (both looking for the piece and praying.) I thought maybe I could find the piece and glue it back in place. After a fruitless search, I gave up. My next course of action was to change the headstock shape to accomodate the now ragged corner. I drew a different profile, then used the oscillating spindle sander to smooth out the offending area. The final result looks intentional, which I guess is all I could ask for at this point!
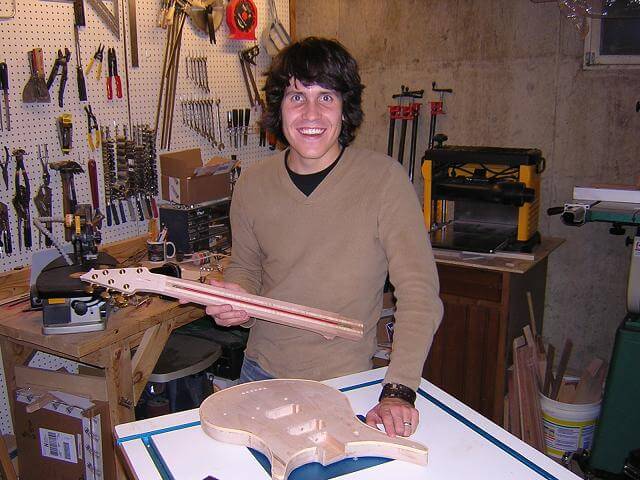
About this time David from the band Remedy Drive stopped by to check my progress. Well, no that's not true. He was in town doing a show and I lured him into my shop and convinced him to pose with my guitar. Seeing as he was the impetus to get me started in this whole project, I thought it appropriate to include a picture of him inspecting my work.
So far, this neck has gone much more smoothly than the last one. I've got a good feeling that this will work out in the end.
Now it's time to build the fingerboard.
If you missed how we got to this point, you can go back to creating the headstock veneers.
Return To The Main Music Gallery
This page last updated on 06/28/2018